Facebook Groups can be a great way to network, to stay in touch with friends and stay on top of news in a specific industry or niche. They can also be a time drain and cause an inundation of email notifications. You are able to join up to 300 (YES, THREE HUNDRED!!) Facebook groups. Needless to say, I do NOT recommend this, especially if you are looking for time management strategies! But I do suggest joining at least a few as they can help you meet interesting and knowledgeable people as well as allow you to share things like elementary school photos in a private setting, without the rest of your ‘friends’ having to see you during your years with braces or as in my case, my ‘Farrah wings’ phase.
Please see previous posts on How to Manage Facebook Group Notifications and How to Leave a Facebook Conversation to better handle your groups. If all else fails and you do decide to leave a Facebook Group, here are the steps:
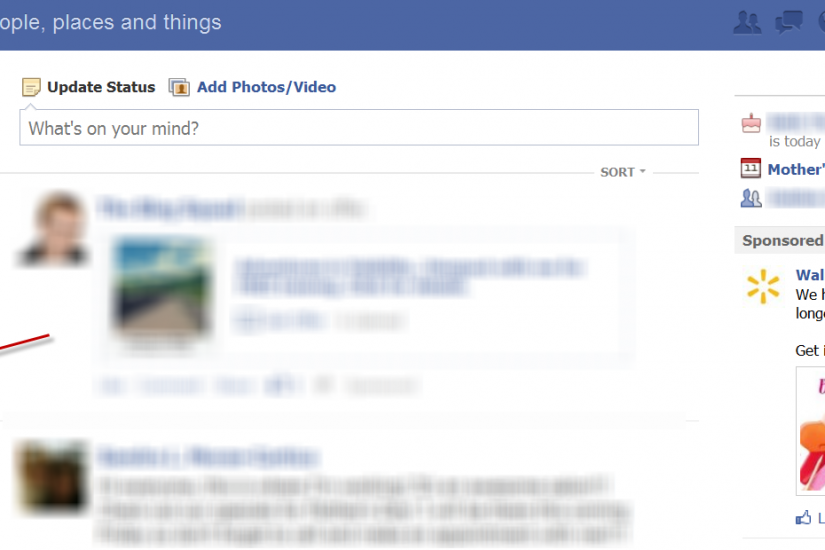
1. Go to your Facebook HOME page and find the group in your sidebar.

If you do not see your group, hover over the area to the right of the word ‘Groups’ and you will see the word MORE.
NOTE: This option is NOT visible til you hover over this area!

Click on that to see a full list of groups.

4. Click on the group name and you are taken to the group page.
5.Click on the little ‘gear’ icon on the right of the navigation bar to see a drop down of options and click ‘Leave Group’

You may also be interested in seeing:
How to Manage Facebook Group Notifications
How to Leave a Facebook Conversation
I can help you effectively use Facebook to engage your community and grow your business.