Recently, a client wrote:
Unfortunately, Constant Contact does not have a way to personalize the subject line. But yes, you can add personalization both in the greeting and in the body of any mailing.
Here are the steps to add personalization to your Constant Contact mailings.
Personalizing the greeting is easy and many of the templates actually include this option. The good thing about using it there is that, if you don’t have the first name, you can use a default, like ‘Greetings!’ instead. It gets a bit trickier when you are adding the personalization to the body of a message.
To do that correctly, you need to make sure that your contact information is formatted to accommodate this. Essentially, we will be adding a short snippet of code saying ‘pull the info from the contact first name column and insert it here’ – you need to go in and confirm that the right info is in the right field so that this will give you the results you want. For example, you need to check to see that you HAVE the contact’s first name (and only their first name) in the column marked ‘first name’. If you would like to include only their first name, you cannot have both the first and last name in that field, or an honorific like Mr. or Dr, or your message will say something like,
‘Ms. LisaMarie Dias, we appreciate your business’ – not exactly incorrect but not really the warm, personalized touch you might be going for. If you want to say ‘LisaMarie, we appreciate…’ you need to make sure that only ‘LisaMarie’ is in the field specified.
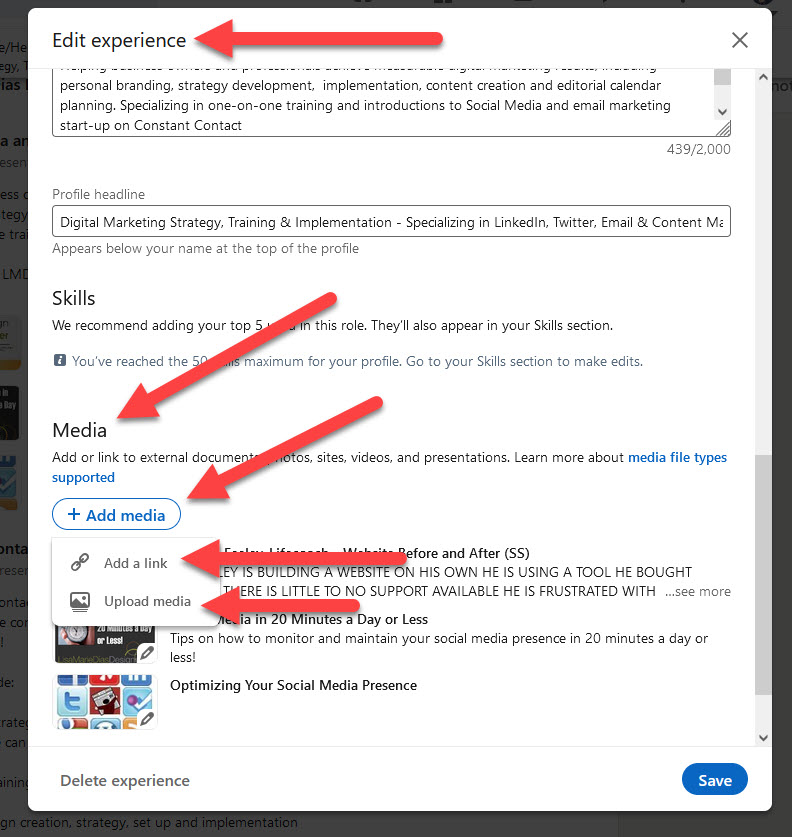
To view your contact’s information, go into your Constant Contact account, click on ‘Contacts’ in the upper right hand corner

Which will take you to a page with all your contact lists. Click on any list to see all the contact info for each person on the list. Click on any contact’s name to be taken to a page where you can edit and/or add anything to that contact’s info. If both names are in one field, you can split it in that window. You can also add, or remove an honorific or add a name if you know it.
And this is yet another reason why it is best to add all the info you can when you first add someone to your list. You may have their business card in front of you but only choose to add their email address – months or even years later, when you need that first and/or last name, it will be very hard to remember, especially if the email address is just info@companyname.com
If you want to use personalization in the body and MOST of your contacts have the first name field, I suggest that you copy the list – call the new list by the same name as the old but add the word ‘personalized’ or ‘for personalization’. Then, go into that new list and delete any contacts that are not properly formatted for personalization. This will NOT delete the contact from your account, just from that list.
Then, you can use that list for your mailing, confident that the formatting is correct.
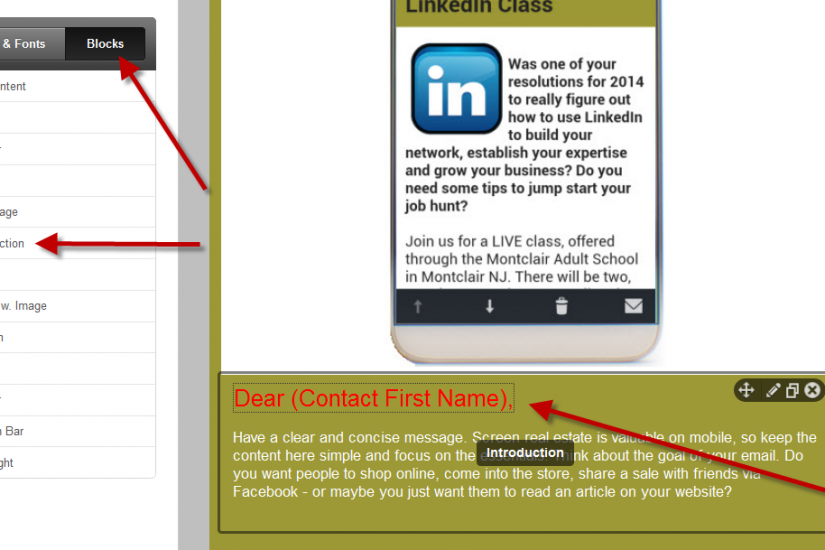
The next step is to format the mailing. To add personalization to a GREETING, you can usually just use a basic template, as many of them automatically include this option. If you are re-using a template and deleted that text in the past, you can usually click on the ‘Add Blocks’ link in the left sidebar and click on the ‘Add’ button next to the ‘Introduction Block’ option.
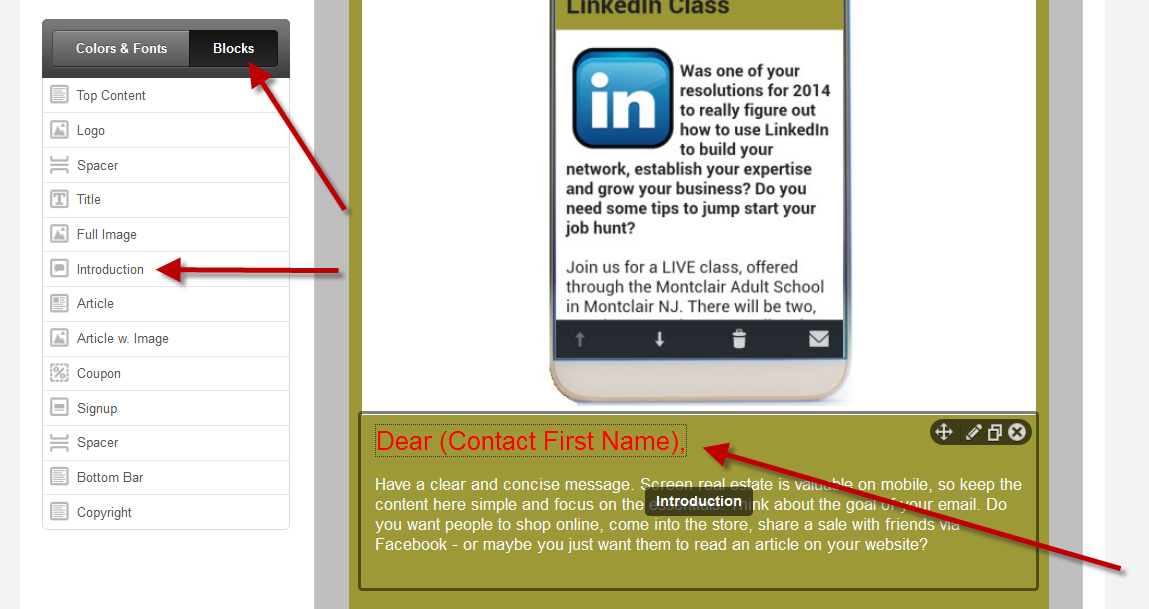
You can also add a personalized Greeting to any part of any block by going into your email and picking the location where you want to add it. Click on the little pencil icon to enter ‘edit mode’ and pick the ‘Insert’ then ‘Greeting’ option. Note that this option is ONLY VISIBLE WHEN IN EDIT MODE!

You have a few options here – you have a drop down to choose just the first name, just the last name and even first and last. You can add a word or characters BEFORE and/or after the first name – this is where you would add something like ‘Dear’ or ‘Welcome’
Note that this can be ANYTHING – you can put the word ‘Bananas’ in that field and every one of your mailings will say ‘Bananas LisaMarie’ wherever you placed it in the mailing. Make sure that you spell this correctly!
You can also place a comma, semicolon or any other character or word AFTER the first name, in that block after it. DO NOT leave a space after it if you want to see it read ‘LisaMarie,’ If you add a space, there will be a space between the name and the character. If you wanted to say ‘LisaMarie, valued customer’ you can also do that. It might be a bit awkward to read but it would work, just be sure to leave no space, then put in the comma, add a space, then the word valued, then a space and the word customer.
If you do use Last name only, be sure that you have an honorific in the field as this is difficult to add globally if you have Mr and Mrs and Ms among your contacts! This really works best when doing a mailing to Doctors as you can add Dr. in front of any of them, male or female.
You also have the option of choosing what CC will insert if the field specified is not filled in or even to always use the secondary greeting. If you are going to choose to always use the secondary greeting, I would suggest that you just add it as text, in the block, rather than using this greeting feature as there are fewer glitches with actual text!
You can use the default greeting option within the body of the letter, for example using ‘Customer’ instead of someone’s name but I think that this totally defeats the purpose of personalization as it really makes the letter or message feel computer generated.
You can also use this feature to add personalization within the body of any mailing. For instance, if you want to say something like:
Thank you, LisaMarie, for attending our Gala event!
you would write Thank you in the message, go into the greeting option and insert ‘first name’ and add a comma. As an alternate, you could put ‘Thank you’ in the first box.
Constant Contact offers another personalization option as well. Using the “Insert’ ‘Contact Details’ link, they allow you to enter OTHER field info – as well as the email address, first, middle or last name, city, state, etc. See the screen shot below for the full list.

Since this option does NOT allow for substitution nor for adding any punctuation after it, you need to think carefully about how you can use it. You may want to add it in a headline saying something like
Discounts available for all (insert address line 3) students, now thru Monday!
And then put customer’s SCHOOL name in the address line 3 field. Again, this takes some planning but can really add a level of personalization that pays off.
The key takeaways here are that personalization IS possible and with some work, can be a great addition to your mailings, making sure that they stand out against those of your competition!
Call me at 212.664.1872 to set up a time to discuss how to use personalization to optimize YOUR email marketing pieces and to increase YOUR conversions!
For more Constant Contact tutorials, see:
https://lisamariediasdesigns.com/blog/mobile-friendly-email-marketing-templates-must
https://lisamariediasdesigns.com/blog/checklist-of-items-needed-for-a-successful-enewsletter
https://lisamariediasdesigns.com/blog/social-share-options-constant-contact
https://lisamariediasdesigns.com/blog/5-ways-personalization-e-newsletters